Sunday, December 27, 2015

KITCHEN REMODEL

Ok...I said that I would post pictures of my kitchen remodel so here goes…

This is my kitchen before the remodel.  It had pickled oak cabinets, tropical brown granite countertops,  dated wallpaper, a soffit and built-in bench seat.  It really wasn't too bad but when I started to think about all the things that didn't work…I decided that it needed a total gut job!  Things such as...you could never find anything in the pantry, a drawer opened into the stove handle (why do builders do that?), and the corner cabinet was completely useless as it did not have a turn table and the door was only 12" wide.  I could no longer fit my aging body in there to extract things located towards the back.


So this was the plan…get rid of the soffit, bench seat and pantry.  Put in new 42" cabinets that reach to the ceiling in a darker, richer color with a lighter countertop and wood floor.  Add new stainless steel appliances, extend the countertop and add lots of lighting for ambiance and doing tasks.

Now that it is done, I live in my kitchen!  It is soooo functional.  The new appliances are awesome and the big peninsula is perfect for working on large art projects.  I gained a lot of space by getting rid of the pantry, moving the stove a foot, extending the counters and cabinets into the breakfast room and utilizing a counter depth refrigerator.  Although, I lost the pantry…I don't miss it one bit as the huge drawers make it much easier to see everything stored.  Hopefully this will cut down on wasted food that was always getting lost or hidden in the old pantry.

All the finishes came together perfectly.  I found the perfect fabric from Joann's for the valance over the sink, the stone and glass tile backsplash mirrors the lines of the shutters and match the granite and the teal accent wall with the chalkboard doors add a bit of contrast and whimsey.

Are you ready to see the final result?  Here it is…ta-dah!


Well…I hope that you enjoyed the tour and until next time….

Hugs,
Ginny

Sunday, December 6, 2015

BEAUTY IS NOT IN THE FACE...


"Beauty is not in the face…beauty is light in the heart."

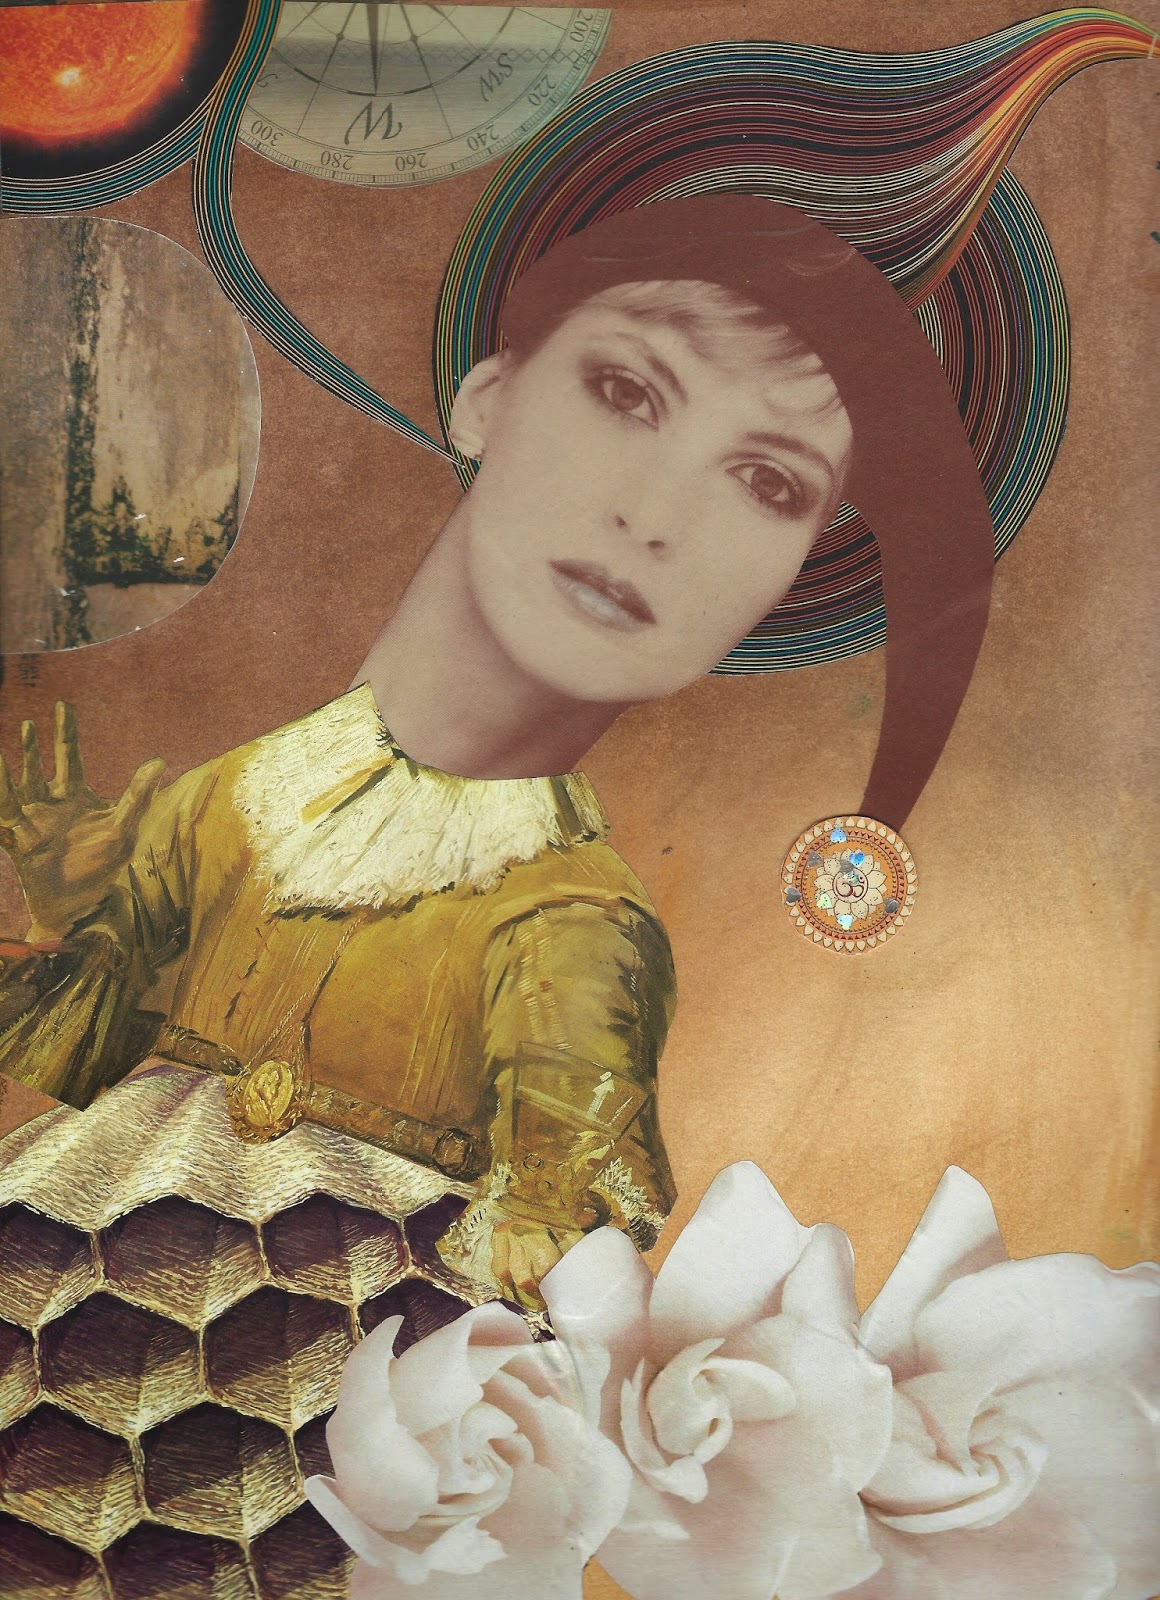
Every now and then I get super inspired and race to finish the collage….
forgetting to take photos of the collage before the pen work.  
Yup!  That's what happened to this one!  
No before photo.  Sorry!


Enjoy….and until next time…

Hugs,
Ginny

FORGET NOT THAT THE EARTH DELIGHTS...


"Forget not that the earth delights to feel your bare feet 
and the winds long to play with your hair."

Wow!  It's been a while since I posted.  I have been going through a kitchen renovation, including new floors in my great room…a complete gut job!  I have to tell you…I think that it has been the most stressful thing that I have ever gone through in my whole life!  Why?  I think that it is because as an artist I see every little thing that is out of kilter.  The electrical outlets didn't line up, the appliances were not installed correctly, the cabinets according to the granite installers were not level and therefore, the granite countertops did not square up with the cabinet and so on and so on.  I even made the granite installers come back and lower one end of the countertop to be parallel with the cabinet drawers.  They may have made them level but they did not take into consideration how all the combined elements can trick the eye and make things appear as they are not.  It actually looked like the granite curved up at the end.  I know that I am a perfectionist and that I have a tendency to expect the same from others but…Hey!…who has to live with this and see it every day?  ME!  

All that said and done,  I owe a lot to my kitchen contractor…he and his staff came to my rescue on more than one occasion.  I think that he tried to warn me in the beginning when he said "have patience" and I tried to warn him when I told him that I will drive him crazy because I am a detail person.  lol!

I will post before and after pictures once I have the backsplash installed.  It really is stunning!

I wish that I could say that making art de-stressed me but to be honest, I couldn't concentrate on my art when so much was happening with my house.  I didn't so much as pick up a pencil and doodle but here is a collage that I completed before the reno started: 

Finished collage

Collage prior to mark making
Until next time….

Hugs.
Ginny

Saturday, October 10, 2015

LOOK NOT TOO FAR AFIELD….


"Look not too far afield…the answers lie within"

Now, I couldn't just leave the baseball cards in their original context…could I???  I have a rule that I have to touch the pen to every piece of collage and change it in some way.  It may be to add dots or shading or to change it entirely.  I thought that the little martian heads were a nice touch.  What do you think?

Finished collage

Collage prior to mark making
Until next time…

Hugs,
Ginny


IF YOU REALLY WANT TO FLY….


"If you really want to fly, you need to 
let go of the things that weigh you down."

This collage started with images borrowed from two of my original paintings; the girls face and a shirt borrowed from "Frida"….a page from my journal of famous woman.  I hoped to challenge myself by using materials from sources other than magazines and collage sheets by others….and did I say that I wanted to challenge myself?  This was definitely a challenge!  I was not inspired in any way by the grouping of collage pieces but as I added paint and Prismacolor pencil, it began to reveal its character.

This collage taught me that you can change the color of practically anything to enhance its presence and to balance the composition.

finished collage

Collage prior to mark making.
I hope that this inspires you to try using some of your art work in your collage pieces.

Until next time…

Hugs,
Ginny

Monday, August 10, 2015

RECYCLED ART


If you are always trying to be normal, 
you may never know how amazing you are.
Maya Angelou

I should recycle my art more.  It makes for a good jumping off point for the start of a new collage.  In this case, I used one of my ATC"s.  I scanned it, enlarged the size, printed it and then glued it to the middle of my page.  Although, I changed the original a lot…that's just how the process works…it was the push that got me started toward something different.


Here is the original ATC before the changes.


Until next time….

Hugs,
Ginny

Sunday, August 2, 2015

WINDMILL GIRL COLLAGE


If you need that extra push to finish your art pieces and in my case to also clean my house…invite several of your creative friends over to make art!  Encourage them to bring whatever they would like to work on and enjoy an afternoon of coffee, tea, good conversation and creativeness!

We started our group, "Thursday Art Friends," about 2 1/2 years ago when one of my yoga buddies mentioned that she used to make cards with her sister and really misses it.  Another one of my friends mentioned that she would like to learn how to collage like I do.  Wa..la a group was born!  Now we are eight strong, meet weekly and work on whatever our creative spirits move us to work on and there are no rules.  Some of us paint, some do collage, one beads and another knits.  We also started our own FaceBook Group to keep in touch with each other, to share our work and ideas or anything that we think might be of interest to the other members.

I think the other members would agree that this group has bonded eight wonderfully creative spirited ladies who value the presence of each other in their lives…hence, we often call the group "Art Therapy."  Sometimes we work on art and sometimes we just come to spill angst or to just listen.  Whatever, we chose to do…it fills our soul!

In case that wasn't enough…I started another group that meets every Sunday. This group is made up of three of my friends who wanted to learn how to make collage. They are all beginners to most art forms and the tools involved…a real challenge to teach but they are making amazing journal pages despite my lack of teaching skills.  I am sooooo proud of them!

Hopefully, the time spent with these two groups will result in more finished collages.  Here is a finished collage that I hesitated to post because I was debating on whether it needed a quote added.  After studying it for days, I decided that it would take away or cover up the striped background pattern which I feel is integral to the color pallet of the overall picture.  I may change my mind later. Who knows?


Are you thinking of starting an "Art Group" yet?  Until next time….

Hugs,
Ginny

Monday, July 20, 2015

COLLAGE - FEAR & LOVE


FEAR AND LOVE:  "there are two basic motivating forces: fear and love.  
When we are afraid, we pull back from life.  When we are in love, 
we open to all that life has to offer with passion, excitement, and acceptance.  
We need to learn to love ourselves first, in all our glory and our imperfections.  
If we cannot love ourselves, we cannot fully open to our ability to 
love others or our potential to create.  Evolution and all hopes 
for a better world rest in the fearlessness and open-hearted vision 
of people who embrace life."   
John Lennon

It's been several months since I worked in my "Teesha Moore" style journal and I hadn't realized how much I missed it until I picked it up again.  I have been working on other art pieces; pen and ink sketches, watercolor, fabric journal covers but nothing gives me the joy and satisfaction that creating funky…even strange like collage pages in my "Teesha" style journal.

Here is my latest creation using a few sketches (the flagmen) from my grandfather's journal when he was a Merchant Marine.  Way back when!  (Im not exactly sure of the date but at least 70 years ago.)  I never knew my grandfather, as he died before I was born... but it makes my heart swell to see our art share the same page.  


Until next time…..

Hugs
Ginny

Monday, April 27, 2015

MARINE LIFE TOTEM


When I was in High School my favorite medium was pen and ink.  Back then, (those two words make me sound ancient don't they?) we used dip pens to draw…now, I use a felt tip or gel pen. I still occasionally use a dip pen when doing calligraphy or creating a grunge look but the new pens really save a lot of time by not having to constantly dip the pen in and out of the ink bottle.  Plus, you don't have to worry about ink mishaps when the tip runs out of ink or decides to drop a big glob of ink where you least want it.  

This particular drawing was done using a sepia tone 0.3 size Copic Multiliner SP pen. One of my favorites!  The pen, in my opinion, has many super qualities; it has a metal casing that feels wonderful in the hand, it is refillable with an inexpensive ink cartridge, and it comes in different point sizes.  This pen should last FOREVER!!!

Enough about the pen…how about the art work?  This is my continuing series of Totems.  This time, I decided to do pen and ink drawings on paper that I first distressed with Walnut Inks.  Did you know that Walnut Inks come in different colors?  They sure do!!!  For these, I used the usual brown tone Walnut Ink, Terra Cotta which is a reddish brown, Java...a blackish brown, Eucalyptus...a green tone and Cherry Blossom….you guessed it…a pinkish color.  I prepared both sides of the paper and plan to use them loosely and folded in a fabric journal with pockets.

Here is the completed Totem:


Now...time to get started on the back side of the paper.  Hmmmm…what will it be?  Maybe birds…or cats…how about African animals or frogs and lizards.  Soooo many ideas……

Until next time!

Hugs,
Ginny

Sunday, April 12, 2015

MORE TOTEMS


This is another Totem created with collage and a rubber stamp that I made by carving a rubber eraser.  Simple, simple, simple!!!  After the collage was glued into place, there was very little embellishing that needed to be done.  Just a little shading here and there to create depth and the addition of a few doodles to create interest.  Ta-dah!!!  A totem is born!!!

The following picture is the collage sans shading and doodles.  Like I said…simple, simple, simple!

Collage prior to shading and doodles

Carved rubber stamp
Until next time….

Huggs,
Ginny

TOTEMS


totem |ˈtōtəm|
nouna natural object or animal believed by a particular society to have spiritual significance and adopted by it as an emblem._____________________________________________________________________
Funny, how someone can plant a seed in your head and it grows into something that you had never imagined.  In this case it grew from something scary into something beautiful and not scary at all. You see….I always though that totems were kind of scary…something that I would imagine to be present in nightmares. (They never appeared in any of my nightmares but anyway…)  Animals and faces with snarly teeth and squinty eyes…ready to dance around you and pounce on you once you run out of ground in which to escape but after I saw the beautiful artistic quality of the totems created by Teesha and Tracy Moore...I became excited about drawing totems. I saw them in an entirely different light. They're not scary at all!!! They are "totems" of beauty!

Footnote:  Teesha and Tracy Moore, in the Artstronaut's Club, are currently exploring drawing totems using different media.  


Until next time,

Hugs,
Ginny


Tuesday, March 17, 2015

CLASS WITH DINA WAKLEY


I finally got to take two classes with the awesome and very talented Dina Wakley at the Whim-So-Doodle in St. Petersburg, Florida.  If I had a "bucket List," this would definitely be on it!  Anyway, the classes "Random by Design," a class on how to achieve a random look using layers of paint, stamps, masks and stencils, and "Composition Basics," a class about achieving good composition by using the rule of thirds, proximity and continuance were a lot of fun and very enlightening.  I love how she breaks everything down into simple to understand steps using the "Principles of Design" that most of us learned in a high school art class or college. Many artistic journalers today follow the "there are no rules" principal.  Which is OK but it doesn't work for everyone.  Some of us need a good foundation of rules in order to make artistically pleasing art whether we follow those rules intentionally or by intuition.

ABOUT THE CLASS...At one point, Dina had us ink up our fingers with watered down acrylic paint, grab the paper with our wet fingers where the horizontal and vertical lines met in the design and set aside.  Done!  Leaving a beautiful contrast of paint in a pleasing position on the paper…adding interest and color to the piece.  (see the pink marks on the left side of my journal pages?) I loved everything about the classes but next time, I will take gloves.  I am a neat-nic….was one as a child and I still am as an adult.  Will my nails ever recover?  They look awful!


NEW ACRYLIC PAINTS...The Whim-So-Doodle is an awesome shop…they have everything.  I ended up buying many stencils and of course all of Dina's acrylic paints and writer tips that are new to the market.  Dina had them express shipped to the shop just for use in the class and we were glad that she did…they were big hit with everyone.  The shop had a big glass jar filled with them and by the evenings end…the jar was two thirds empty. I bought one to go with each tube of paint…and I wasn't going to buy another art supply. Who could resist?  Not ME!!!!

ABOUT THE TIPS...These little gems screw onto the end of the tube and have a fine line tip with a screw on cap. What makes these special is the cap…it has a needle in it that inserts into the fine line tip when the cap is screwed into place…this ensures that the paint tip does not clog.  The fine tips allows you to doodle, draw, and write with acrylic paint…almost giving a dimensional paint look. The yellow lines in the pictures below were drawn with a paint tip.  Don't you just love it!

Writer tip on tube acrylic

detail of writer tip


Until next time….

Hugs,
Ginny

Sunday, February 22, 2015

HAPPINESS DOES NOT DEPEND ON…..


"Happiness does not depend on what you have or who you are, 
it solely relies on what you think"
Buddha

I couldn't wait to use these retro black and white bonnet heads.  They sat in my basket just begging to be used in a collage.  They spoke to me!!!  And….I love black and white against a bright yellow.  What could be more retro than that I ask?

Finished Collage

I tried something new in this collage…pencil!  I don't know why I hadn't done this before but while watching Teesha Moore in one of her videos for the Artstronauts Club she said that she uses pencil to add lines for interest…so I thought that I would give this a try.  I added lines around the rocks and a few lines for cracks. Then I shaded with pencil which is more subtle than the black gel stick that I usually use.  I really like it!   

(Oops!  I got carried away and started to alter the collage before I photographed it.  You can see the pencil lines around the rocks.  Guess I was really anxious to try the pencil.)

Collage prior to pen work
Until next time….

Hugs,
Ginny

Saturday, February 21, 2015

THANK YOU FOR BRIGHTENING MY DAY

This one was a sleeper!  
I put off doing the pen work because, well…I just wasn't inspired 
by the color or subject matter but as I said before…
put pen to paper and go with the flow!!!
Just let it happen!

Completed collage

Collage prior to pen work.
I don't think that this needs further explanation…it is what it is!

The bug on the girl's dress and the lettering is from a collage sheet by Teesha Moore, the rest is from magazines and children's books.

Until next time….

Hugs,
Ginny

Saturday, February 14, 2015

THE UNIVERSE SPEAKS

Aaarrrgh….this collage was a real stinker!  I painted, repainted, added more collage, painted again.  I have sooooo many layers of paint on it that I finally had to say ENOUGH!

I think the problem was that the composition and colors didn't speak to me.  It started out predominantly red and yellow so I introduced the color green in order to provide more interest.  I made the heart shape into a martian face but it was too dominant and took away from the main character, the girl with the headdress. The solution was to cover the heart shape with a flower girl collage piece by Teesha Moore and by adding yellow paint to the main character's skin.  This created a better balance.  

Finished collage

Collage prior to pen work
This would have made a good Valentine's Day theme collage but you know how it goes…the painting sometimes takes on a life of it own and BOY…did this one ever!

Until next time…

Hugs,
Ginny

Wednesday, February 11, 2015

IMAGINE

"I think the artistry is in having insight into what one sees around them.  
Generally putting things together in a way no one else has before 
and finding a way to express that to other people who don't have insight."  
Steve Jobs

Sometimes the finished collage piece surprises me because it turns out in a way that I had never imagined.  Such is the case with this journal page.  I felt that it was pretty ugly before the pen work and I knew that pen work would really liven it up but this page took on a life of its own.  More embellishment with collage, the addition of the color blue, the tinting of the flowers to match the skin color pull it all together.  I think that it is one of my favorite pages!

Finished collage

Collage Before Pen Work
Until next time…..

Hugs,
Ginny

TIME TO COLLAGE

It's been a while since I last collaged in my "Teesha Journal."  
It feels really good to be back and doing what calms the stress of everyday life. 
 I don't get this feeling from other art forms and it is a puzzle to me why that is.  
Could it be because my other art work requires more planning and skill
whereby, collaging in my journal is more intuitive and there are "NO Rules?" 
With collage I can cut out different elements from magazines, books or 
collage sheets (my go to for collage fodder) and try them out in various locations 
on the page before I commit to gluing them down permanently. 
Then the magic happens…the pen work.  
This is where the "intuitiveness" come in….this is where I put pen to paper and 
color, doodle and draw until I like what I see.  
Until I feel that the page is finished.  
Sigh…..pure bliss!

Here is the finished page with before and after photos.

Finished Collage


Collage Before Pen Work

That's all for now.  I am working on several more pages in my "Teesha Journal"…so stay tuned!

Until next time……

Hugs,
Ginny